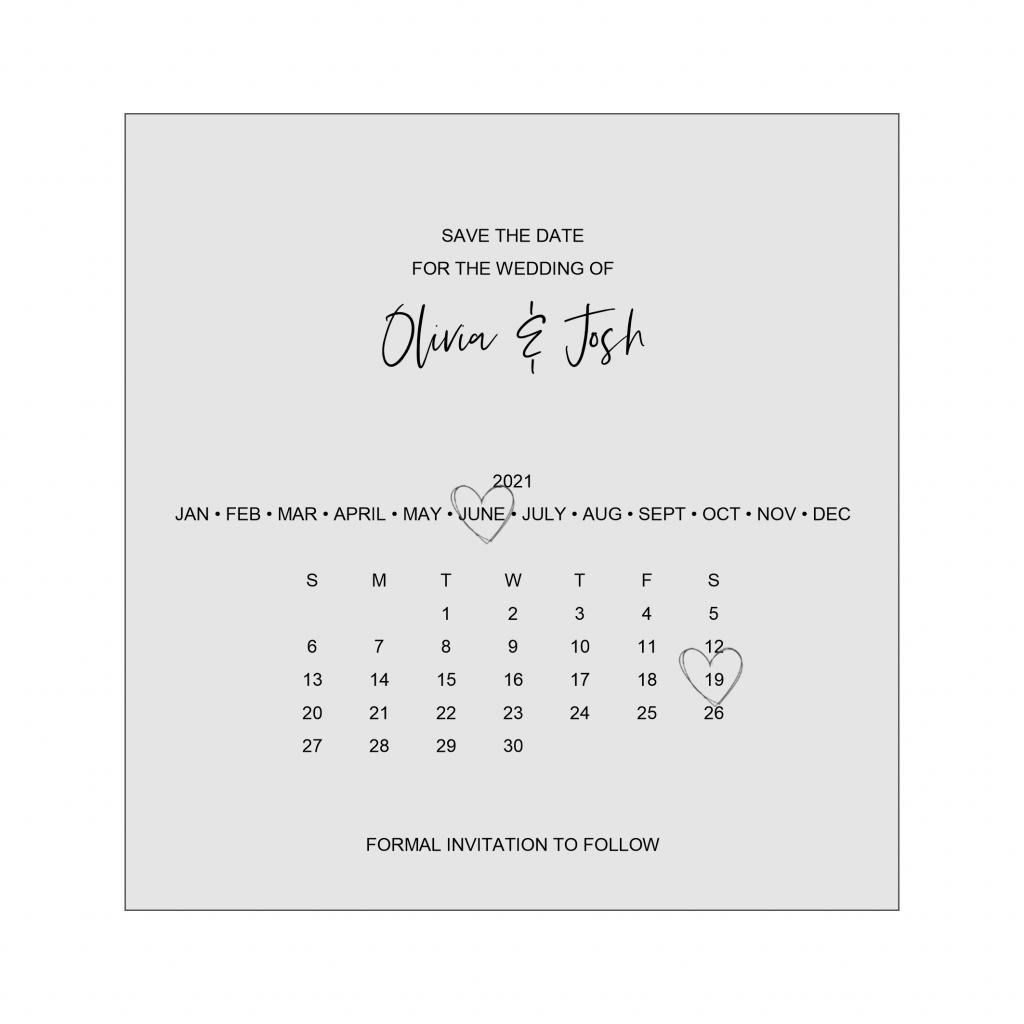
This tutorial is a step by step guide for how to make a calendar postcard style save the date card. It has a lovely band of satin ribbon and a beautiful diamante heart pearl embellishment for some sparkle.
It’s the perfect start for your elegant wedding invitation suite as you can adapt the design to make your wedding invitations to match.
Make your own save the dates and help your guests keep the date free before you send the main wedding invitation.
Save the Date Template Printing
This Save the Date template is free to use, and you can download from our website.
This design uses a free Microsoft Word template so you will need to adjust the fonts to one that you have installed on your computer, or purchase and download a suitable font.
Alter the dates to suit the details for your big day:
Add your names
Slot the correct day number into the associated days of the week for the month you are getting married.
Alter the year
Adjust the position of the heart images over the month and date of your wedding
Choose to print the panel on one of our precut cards or print one or two on a sheet of A4 card and then trim.
Double Check: Spelling, grammar, layout, wedding date (always ask someone else to proofread too), you can never do this too many times, it’s so easy to miss something vital.
Sizes
Save the Date Wedding Card Top, 141x 141mm approx.
Save the Date Wedding Card Base, 147x 147mm approx.
Ribbon, you will need about 18cm of ribbon to allow for a suitable overlap on the reverse, we used 10cm wide ribbon. If you use a wider ribbon, then adjust the spacing on the template.
Fonts
The font used for the body text is:
Silver South Script (script)
Century751 BT (capitalised)
Use the same fonts if you have these available to you or substitute to a suitable font if necessary
Craft Materials You Might Need
Here are some of the items we used to make this wedding invitation. You can of course alter the colours and tweak the final design to suit your wedding theme. You may find our precut card really helpful.
Downloadable Save the Date Template
Downloadable Free Microsoft Word Template
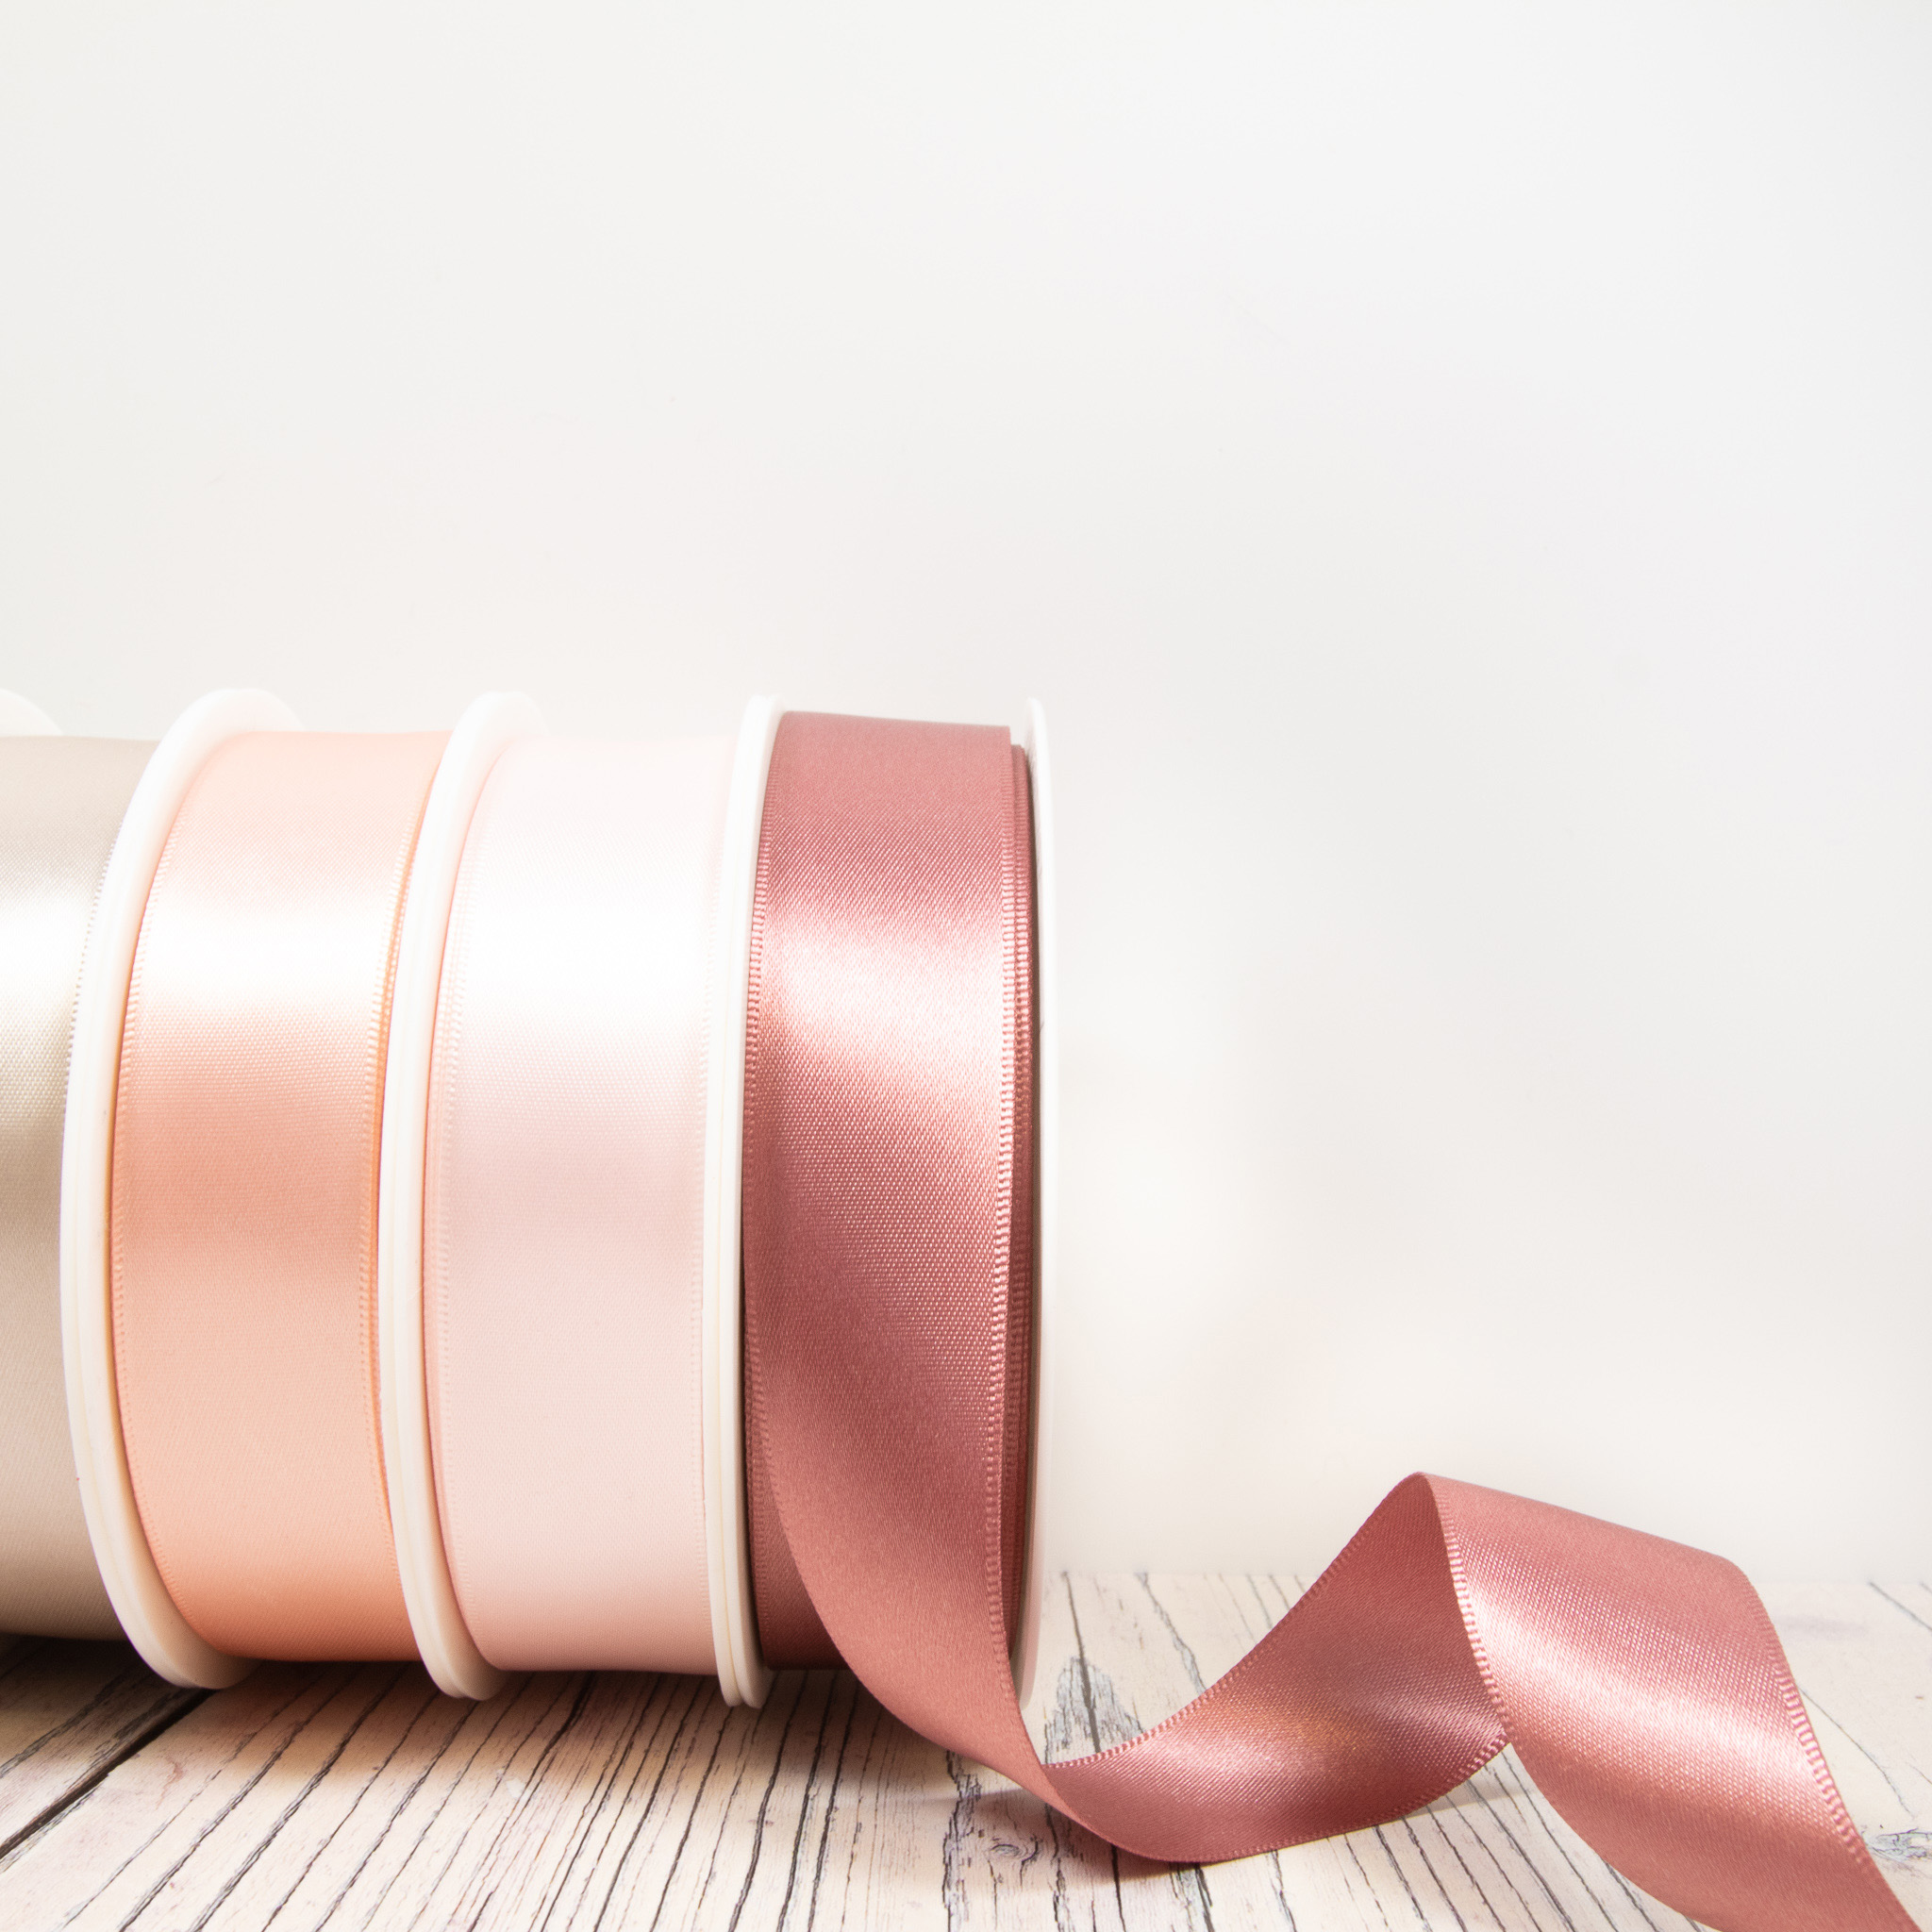
Satin Ribbon
We used 15mm wide Berisfords satin ribbon
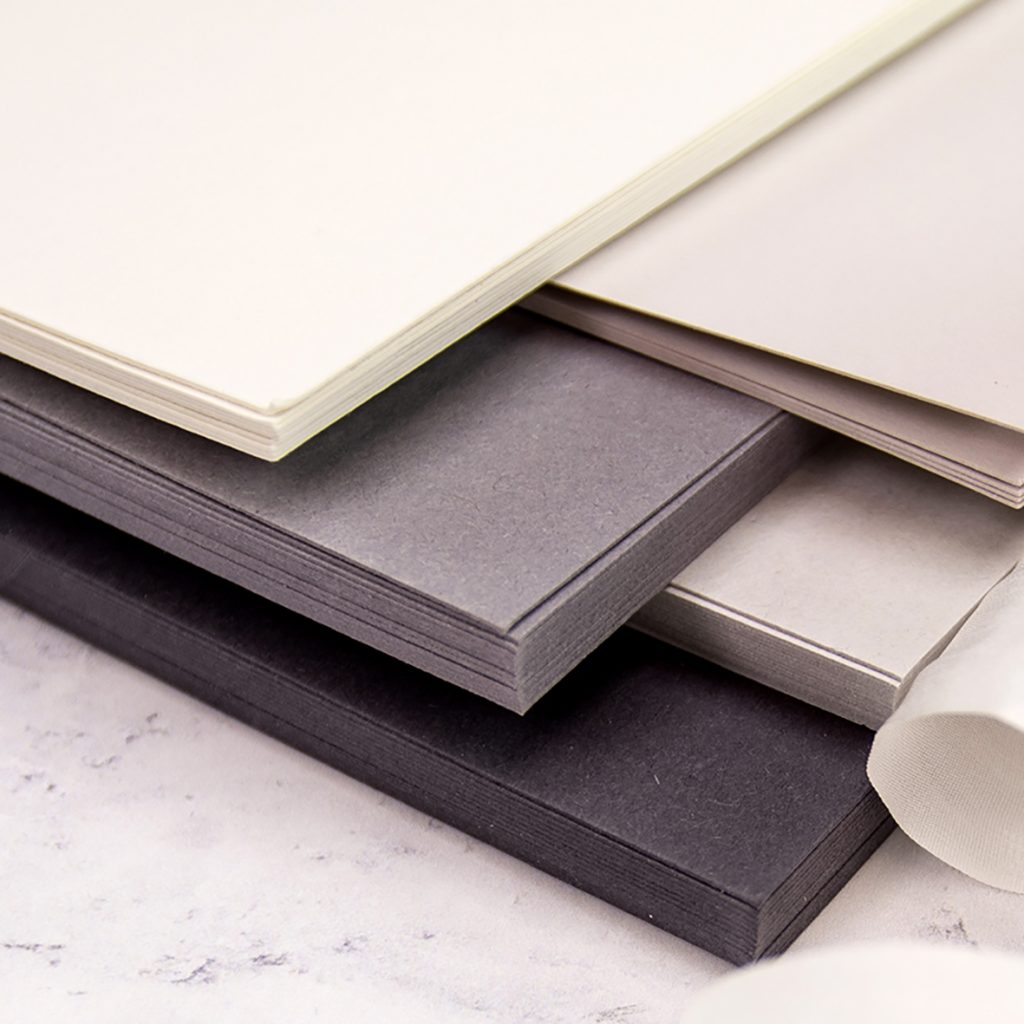
A4 Card and Paper
We used A4 Crystal White Pearlescent Card and Silver Mirri Silk
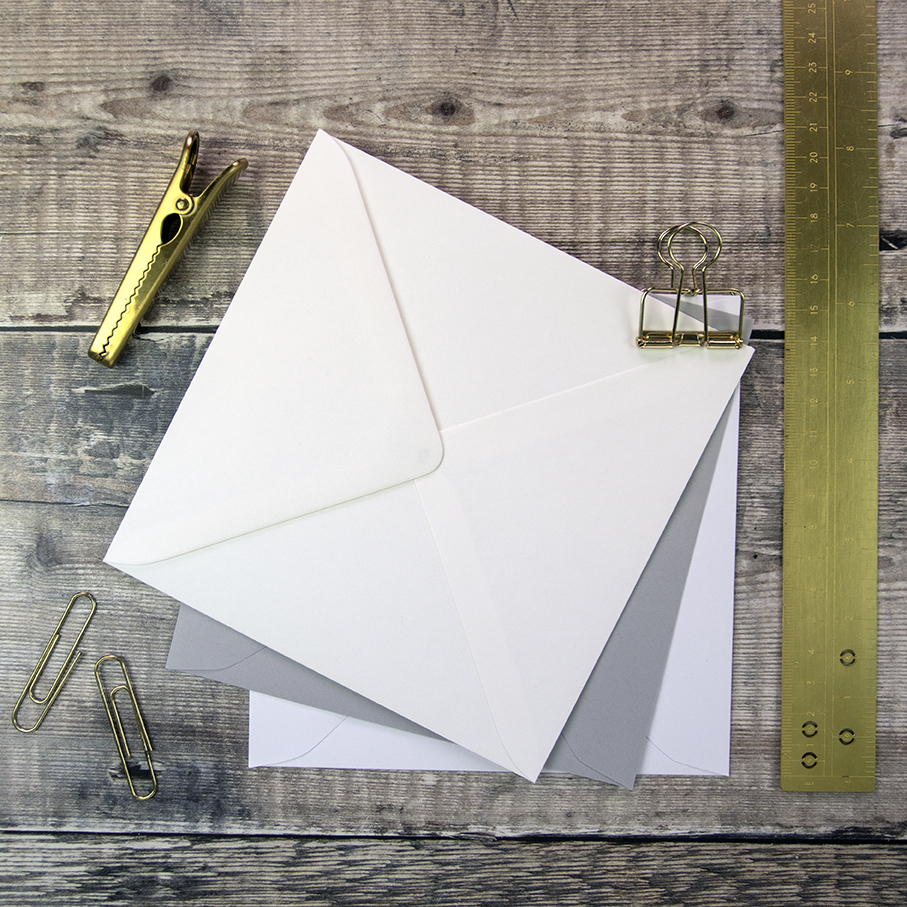
Envelopes
Quality 155mm Square Wedding Envelopes fir this design
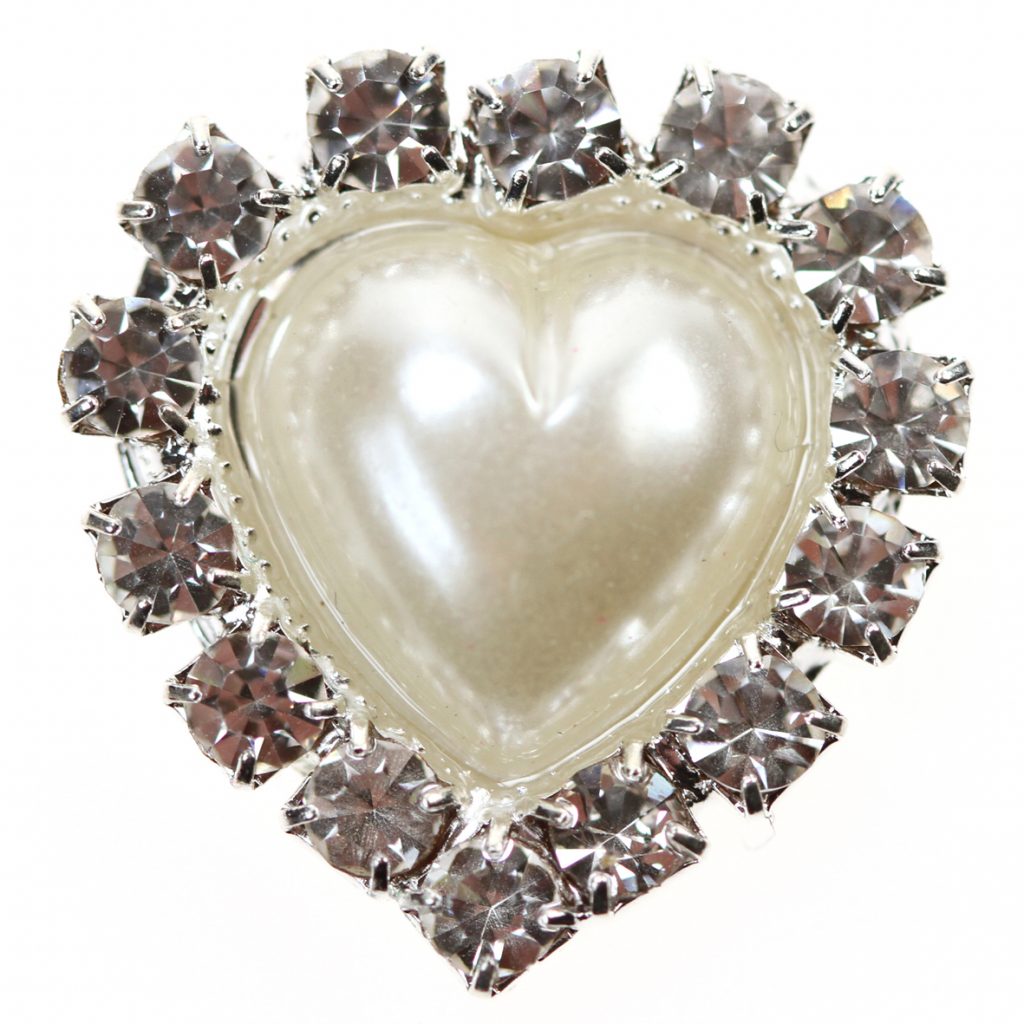
Diamante Pearl Heart
We have a beautiful selection of embellishments
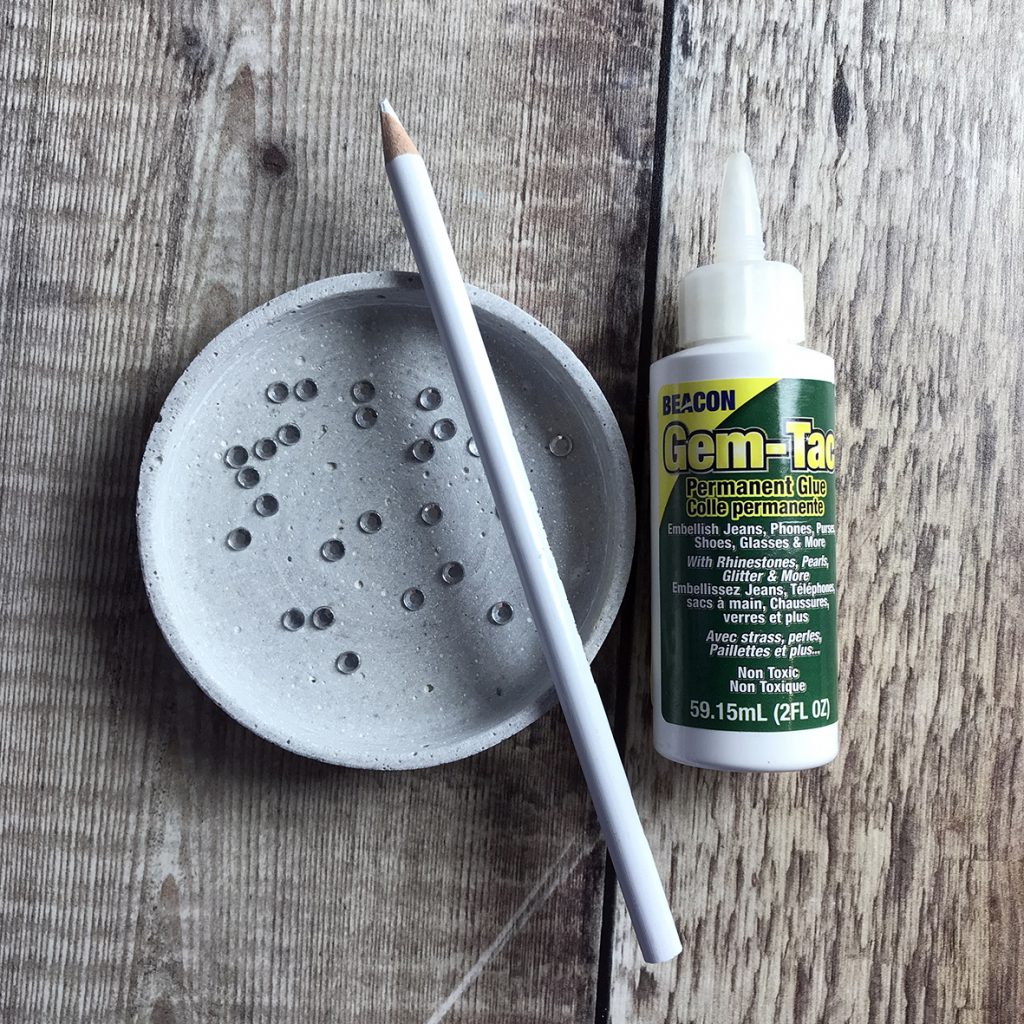
Gem-Tac Glue
Use Gem-Tac to stick your embellishment
How to Assemble your Save the Date
Once you have the printed save the date card elements together, you can start to assemble.
Take your printed top and apply some adhesive to the reverse on either side where the ribbon needs to be. You can use ATG gun as we have, double-sided tape or even glue stick. This is only to hold the ribbon in place while you make up your save the date.
Take your wedding ribbon strip and place in the gap on the front of the printed panel and fold around the back and secure it on the adhesive. Make sure your ribbon looks straight on the front as you do this. Adjust it until you’re certain that you’re happy with its position.
Place the printed card front side down and apply your chosen adhesive around the edges on the reverse, making sure that you also apply adhesive over the excess ribbon.
Take the save the date card top and place on top of your base card, make sure that your border edge is even all the way around. Press down firmly.
Take your embellishment, we chose our diamante pearl heart, but there are so many other lovely designs to choose. Apply Gem-Tac adhesive to the back of the embellishment and apply in the centre space over the ribbon.
Leave to dry, (you can use a hot glue gun instead of Gem-Tac if you want to speed the process up).
Additional Extras
Add crystal gems to the names of the couple of the invitation for a touch of sparkle.
Personalise this Design
Choose a different shade of ribbon
Choose a different diamante embellishment
Use twine or strands of a narrow ribbon crossing over in the centre
Use a ribbon knot instead of an embellishment, especially if you’re looking for super cheap save the dates
Add a save the date magnet to the reverse to create save the date fridge magnets so that your guests can place them on their fridge
For a rustic style, wedding adapt our design and use kraft card combined with cord or twine
For a vintage wedding replace the ribbon with vintage lace
Make matching wedding invitations (use our wedding invitation templates or wedding invitation wording guides)
Add the dress code to your save the date to give your guests plenty of time for planning
Make a wedding table plan or seating plan using the same design style
Tips and Tricks
Sending save the dates is perfect if you have guests and family who need to travel or plan their journey. Include the wedding date and the time of the wedding if you feel it’s necessary.
The save the dates can be organised quite early on in your wedding planning. If you haven’t yet decided on the colours or your wedding theme, then keep the design neutral and reveal the wedding colours on your wedding invitation.
You can keep the costs low by using our free save the date template and adjusting the design to suit.
For more save the date ideas ad DIY wedding ideas, then don’t forget to subscribe to our YouTube channel and social media for lots more wedding stationery designs to choose.
Contact us on email, and we’ll get back to you with all the help and advice you require when making your wedding stationery.