


Wedding Invitation Design Tips & Tricks
DIY wedding invitations are cost effective for most couples. Not only does it cut down the cost of purchasing pre-made invites, but it also allows you to get creative and make something that is truly unique as well as elegant. Here are some tips and tricks for time-saving, keeping costs low and the design easy while making DIY wedding invitations:
Save the Date Cards
Combine the wedding invite design with your save-the-date cards and other wedding stationery so that you can bulk buy craft supplies from the beginning.
Wedding Invitation Design
If you’re not an avid crafter or are not used to crafting you might want to keep to simple DIY wedding invitations, they can still be gorgeous! Don’t assume that pocketfold wedding invitations are complicated, they can be easy to make and we have sample packs to help you design.
Always include an RSVP card with your wedding invitations and include a ‘reply by date’ as this allows you to contact guests if you’ve not had a reply.
Once you’ve researched DIY wedding invitations for your theme make a mood board of your favourite DIY wedding invitations styles and ideas. Be prepared to edit your wedding stationery design to keep within your budget.
Choose the craft supplies that you will need and make a list such as:
- Template for printing wedding invitations, use our free downloadable templates
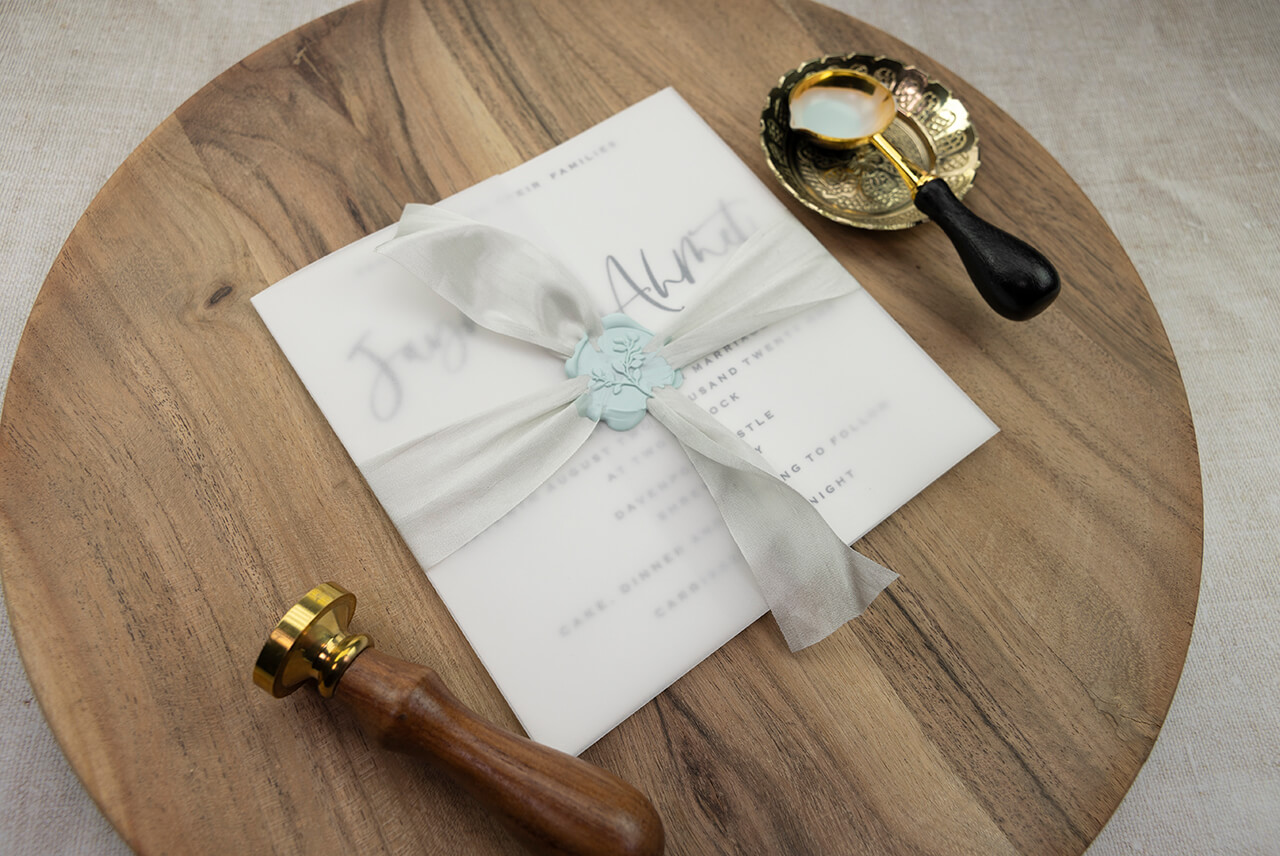
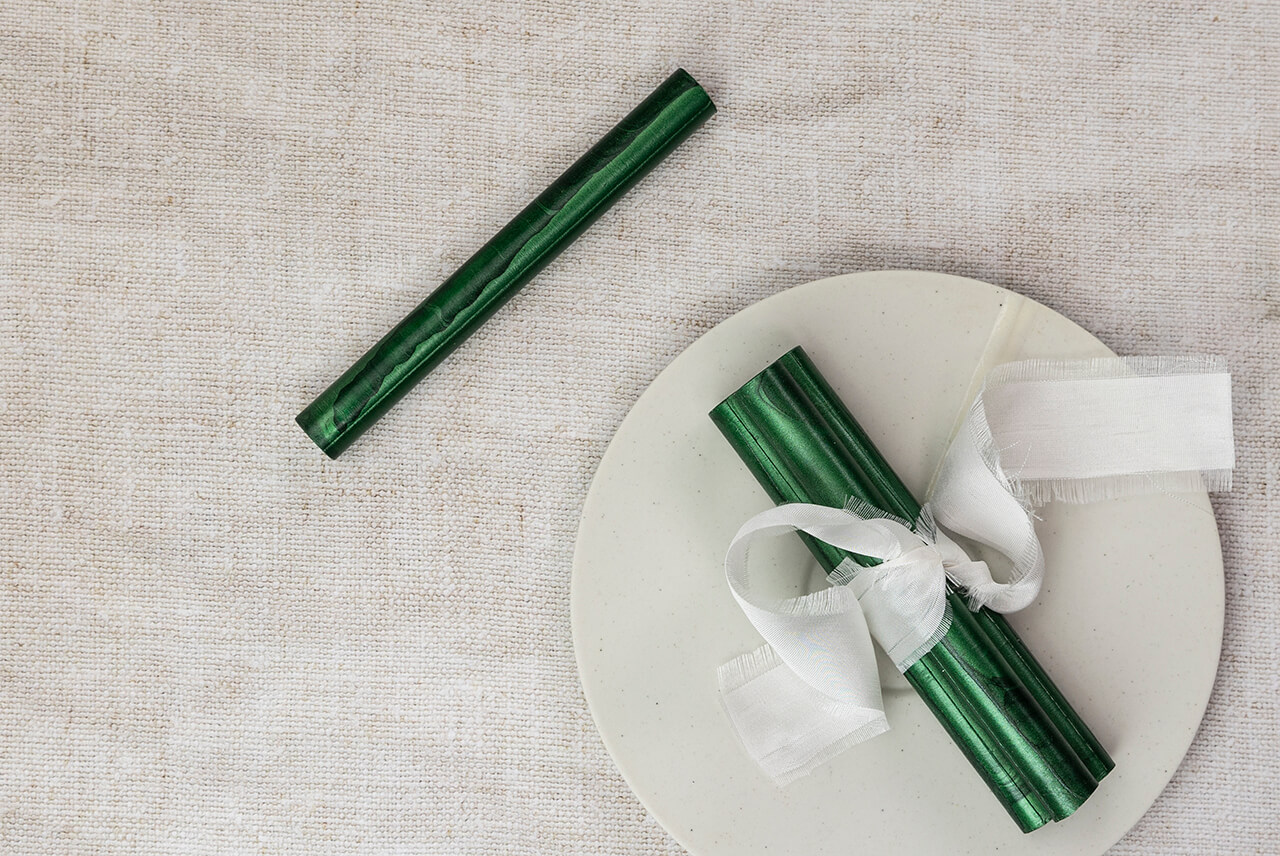
- Sealing Wax (make seals in batches on silicone paper)
- Colour and shade of board stock and sizes needed
- Other design elements and the quantity you need eg luxury envelopes
- List the other types of wedding stationery eg Menus, place settings etc
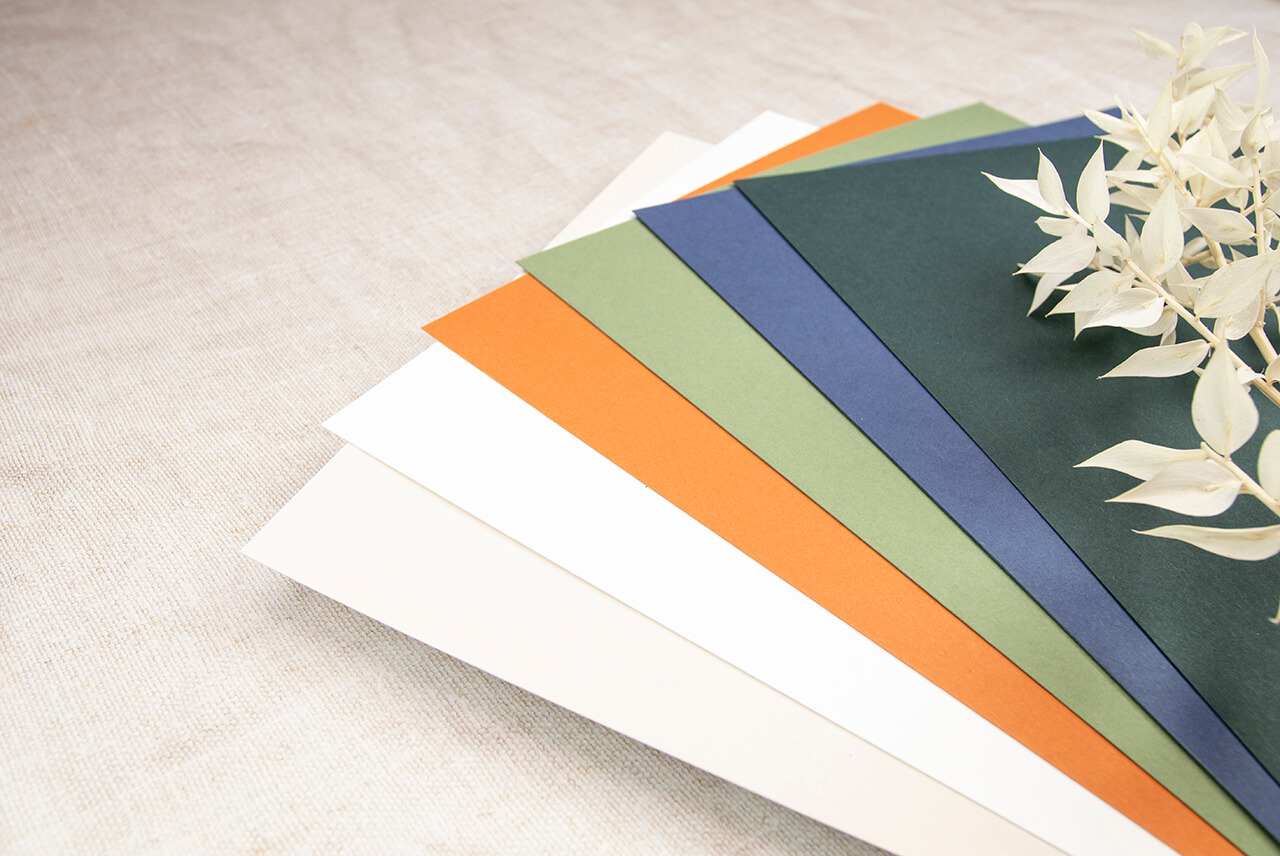
- Gather your materials and make a mock up to check colour match and designs. Our swatch packs of A4 card are a real help
- Buy everything in one go if you can, to make use of our free delivery option
Evening Wedding Invitations
Design a simpler version of your day wedding invitation in the same colour and theme; this will be easier to make and most likely reduce overall costs.
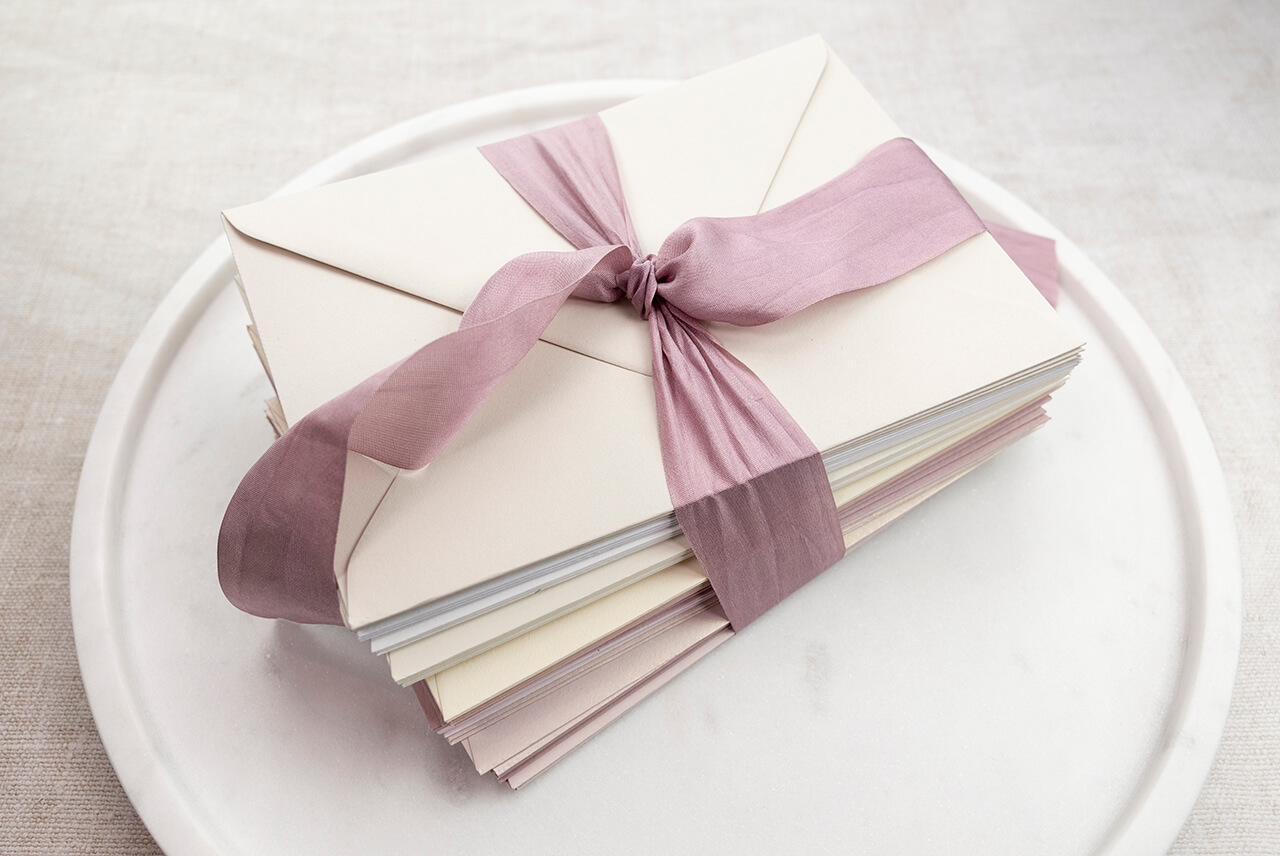
Wedding Invitation Envelopes
Always start with the envelope as you need your finished invitation to fit inside.
Our luxury wedding envelopes come in all standard sizes, and the budget-friendly option is to design your wedding invitation to fit one of these. To make life easy you can purchase our ready cut flat card blanks to fit!

Envelope Liners
Not only do envelope liners feel luxurious they also protect your precious invitation inside, and they’re also both beautiful and practical!
Wholesale Craft Supplies
Plan and make sure all the materials you need for your wedding stationery are available and order online well in advance. Make sure you calculate what you need carefully and buy 10% more than you need to allow for practicing and extra invites as this will reduce postage costs.
Plan on the day wedding stationery and coordinate the design so that you can bulk buy larger quantities or wholesale.
- Order of Service or Order of the Day (keep this as simple as possible for ease of making). Once your ceremony is confirmed, these can be made well in advance.
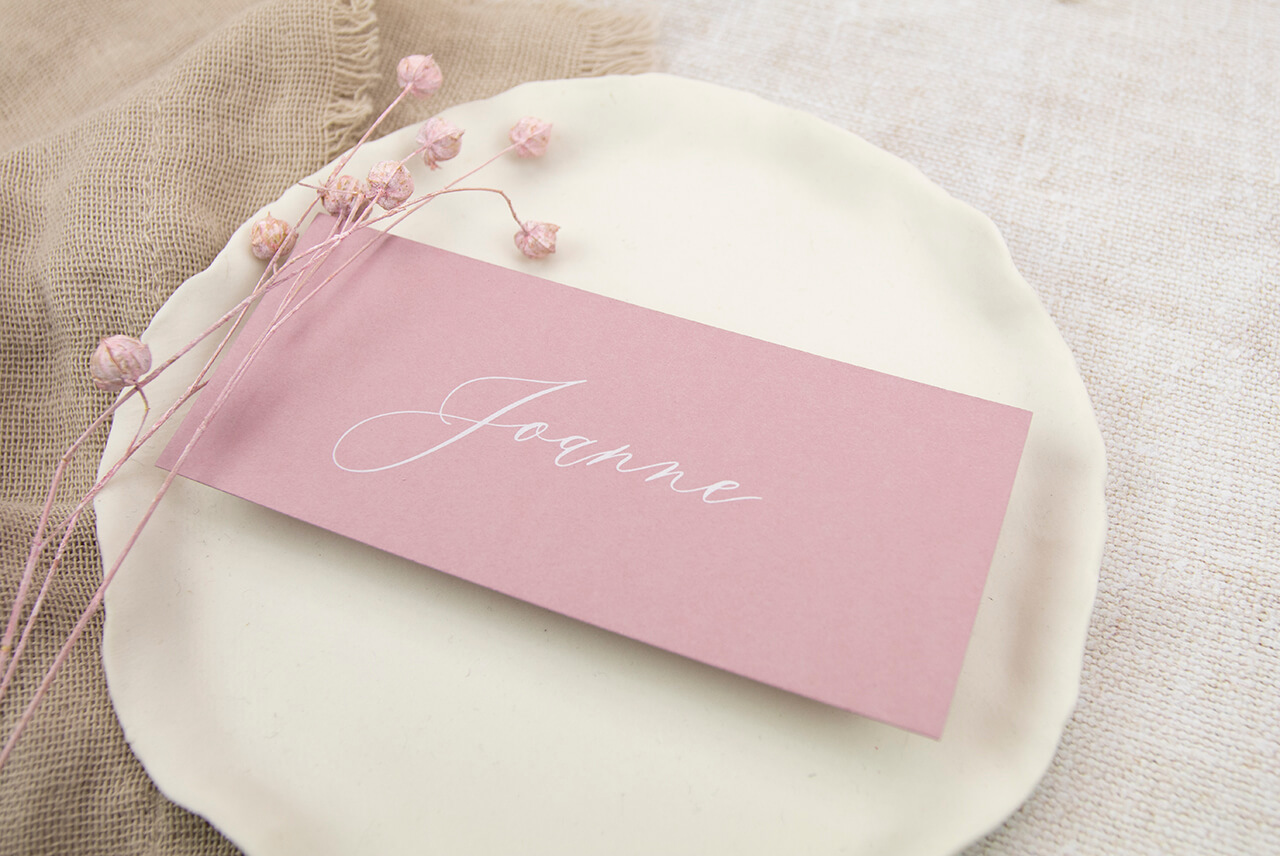
- Wedding placecards can be kept simple so they are quick to make as the wedding day approaches. If you have nice writing use our pre cut card blanks and write on the names.
- Wedding menu cards can be made in advance once your menu is confirmed.
- Wedding Table Name Cards, once confirmed can be made in advance
- The wedding seating plan or wedding table plan can be one of the most stressful items to organise as there can be last-minute changes. Keep it simple and use lists as this makes changes easier to accommodate. If you’re going to DIY, then remember that once the top table is confirmed, it can be made in advance.
Wedding Stationery Fonts
Use easy to read fonts for your inserts – especially for orders of service. Pair script fonts for the names of the couple with uppercase fonts and easier to read fonts. Remember that lowercase text is easier for guests to read than all capitals.
Always check the font license, many have a free for personal use option. Dafont is a good source of free for personal use fonts.
See our font guide for detailed and specific advice.
A4 Paper and Card for Wedding Invitations
When choosing the range of card stock for your DIY wedding invitations, there are a few important factors to consider. Firstly, think about the overall look and feel that you’d like for your wedding invitations. Do you want them to be classic and elegant or rustic and vintage? A modern design will look classic on a pearlescent or matt board stock but a rustic design will suit a recycled kraft card stock.
DIY Wedding Invitations and Proofreading
When making DIY wedding invitations, it can be easy to overlook mistakes. Even the most careful of crafters can miss typos or other errors and details that could ruin their DIY wedding invitations and it’s hard to go back and fix these mistakes after you’ve already printed out your invitations.
Proofreading is essential when making DIY wedding invitations! Taking a few extra minutes to read over your work carefully will save time, money, and frustration in the long run. Make sure to double-check all names, places, dates (especially the wedding date), and any other important information before printing out your invitations. By proofreading, you’ll have peace of mind knowing that your DIY wedding invitation is perfect!
Colours
The colours you see for your wedding stationery designs on your PC monitor may not be the same as those printed by your desktop printer so conduct test prints of your wedding invitations until the colour is just right to avoid costly mistakes.
A cost effective way to add colour to your wedding invitations and card making is with sealing wax, ribbon and envelopes.
Diamantes
If you are adding diamantes to your wedding invitations, place a tiny dot within the design where the gem is to be placed. The diamante can then be easily and quickly glued in place. You can also use this technique for wax seals made from sealing wax, especially when pre made
Types of Desktop Printer
If you’re planning to print the invitations yourself then here are some tips that will help;
- A laser printer will always give you a better result, especially on pearlescent stocks. If you don’t have access to a laser printer then print onto paper first and mount this onto a card
- Inkjet printers may produce a print that bleeds, or the text has feathery edges on pearlescent stocks. Always do a test print before you print your invitations to check that you are happy with the results
- Always do a test prints
- When printing on precut card or flat card blanks or inserts adjust your print settings to the correct size, not all printers will feed smaller sizes, and you may be better printing several copies on A4 and then cutting afterwards. Use crop marks to trim your page to size (if you’re not sure
Printing on Vellum
Beautiful vellum paper is a real favourite for diy wedding invitations and can be used for everything from wraps to belly bands for wedding invitations.
- Tracing Paper or Vellum is less porous and comes out of an inkjet printer with the ink slightly wet. Make sure that you leave the tracing paper to dry for a few minutes before working with it again after printing.
- Try printing in bold to make the text appear darker (but allow good drying time)
- Use the ‘quick print’ or draft option to feed the paper through quicker and leave less ink on the page
- Laser Printers print best on vellum paper
Metallic Print
Printing ‘gold’ or ‘silver’ colours on your wedding invitations is tricky but use the following settings in the ‘custom colours’ of the document for your designs:
- Gold: Red=192, Green=168, Blue=104
- Deeper Gold: Red=165, Green=138, Blue=82
- Silver: Red=151, Green=151, Blue=168
- Copper: Red=205, Green=115, Blue=0
Remember that these will never have the same metallic ‘shiny’ effect that foiling gives. If you want shiny images or text, then you will need to enlist the help of a designer with digital or hot foiling facilities.
Guest List Planning
Create and manage your guest list in excel and create a mail merge for creating your address labels for envelopes.
If you’re printing guest names on your invitations then create a merge with the list specifically for your invitations; it’s a time saver!
Craft Tools and Equipment
The types of tools and supplies you might need for wedding invitations and card making;
- Sharp scissors (especially for cutting ribbon). Try to keep two pairs – one for ribbon and lace and one for paper and boardstock
- Ruler (measure, measure and measure again)
- Craft glue, make sure you have the right adhesive
- A paper trimmer and will give a professional finish
Plan Your Time
Allow plenty of time for being creative and making wedding invites as it’s bound to take longer than you think. Be organised and set up a production line; complete each process in stages before you move onto the next.
- Gather craft supplies and craft tools before starting
- Break the invitation design down into it’s individual processes and complete each one in turn, for example, fold all the inserts then glue them all in place. This is much quicker than making each invitation before moving onto the next one.
- Enlist your best friend to help
Making DIY wedding invitations takes longer than expected even with all the preparation, so be sure to plan ahead to allow plenty of time to complete them properly without feeling overwhelmed or rushed near the deadline. Set up an efficient production line that breaks down each element into manageable processes (e.g., folding all inserts first before gluing them in place). Enlist friends/family members if possible as well – two heads are better than one!
Mistakes and Errors
It’s inevitable that accidents happen when making wedding stationery even when taking care not getting glue on everything else! Always buy more supplies and card stock than needed in case there’s an emergency situation needing late additions or replacements – plus it’s always handy to have spares just in case something goes wrong!
DIY Wedding Invites and Tying Bows
How to tie a perfect bow: For a designer bow make two loops in the ribbon (pointing upwards) with a little downward ‘loop in between. Simply tie these together as though you were tying a knot. Straighten the bow and resize as necessary.
A bow maker will help you to make your bows all consistently the same size.
Templates
Download our easy to use DIY online templates for setting out your wedding invitations. Make yourself a DIY production template as well. If you’re attaching ribbon at a certain height 100 times over cut yourself a template at the right height and use this to align your ribbon – simple but this will save you hours of measuring!
Good luck, and have fun creating your DIY wedding invitations; you’ll have gorgeous yet professional and unique wedding invitations that you truly love!